|
|
|
Step
- by - Step How to
Click HERE to order T-20 parts off our 6x6parts.com website The T-20 Transmission first built by Borg-Warner,
and ATV-O-MATIC, now built by Skid Steer Corp. has been used in thousands
of Amphibious All Terrain Vehicles including Max II, Max IV, Attex,
Hustler , Starcraft, Swamp Fox, Camel and many other manufactures. It
as a popular choice of custom machine builders, since it gives forward,
reverse, brakes, steering all within one unit. We offer all replacement parts at Richard's Relices
Click HERE
for the parts pages. |
|
T-20
Tear Assembly Step-by-Step guide Page 2 continued |
|
 |
|
 |
Click on PHOTOS to see larger view |
 |
Note: Closeup of all 4 punch marks
Click on PHOTOS to see larger view
|
|
|
|
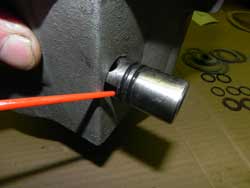
We
use seal driver to seat seal
|
|
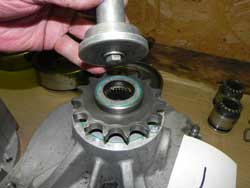
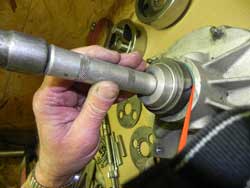
Install
right hand output shaft/sprocket. |
|
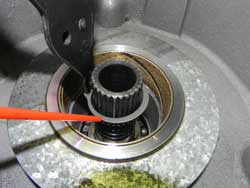
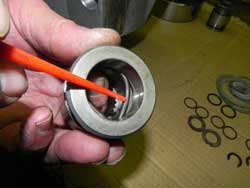
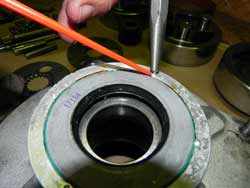
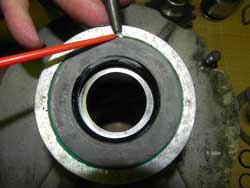
Working
inside case install the snap ring that retains the output shaft in bearing.. Note: Closeup of red pointer
|
|
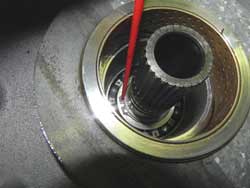
Snap
ring installed Note: Closeup of red pointer |
|
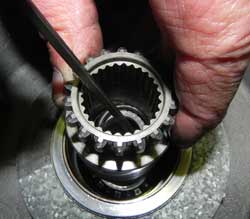
Shift
collar with detent spring, insure spring is intact, |
|
Detent
spring installed Note: Closeup of red pointer |
|
Slide
shift collar onto output shaft, using a sutable tool, guide spring over
shift collar, while pushing collar onto shaft. Repeat for other side. Click on PHOTOS to see larger view |
|
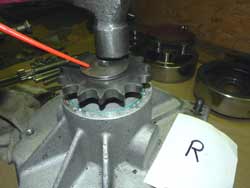
Shift
collar installed in reverse position.
|
|
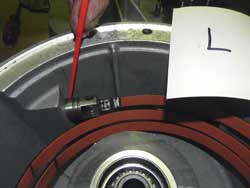
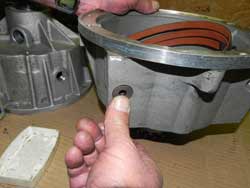
Working inside case, install plunger in bore. |
|
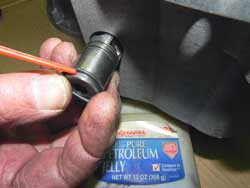
Push
plunger all the way through case to install O-rings. Tip: Coat O-rings with petroleum jelly.
Click on PHOTOS to see larger view |
|
|
O-rings
installed
Click on PHOTOS to see larger view |
|
Push plunger back in bore
Click on PHOTOS to see larger view |
| If
you have any questions, you welcome to contact us at richard@route6x6.com Replacement
parts available at RICHARD'S RELICS
ATV Transmission parts page |
|
| Home | About This Site | New Toys | Information Bank | What's New | Blast From The Past | Museum | Tips | Photo Gallery | How To | FAQ'S | Memory Lane | Classifieds | Discussion Boards | Cartoon | Events | Shoppe | Parts for ATV's | Owner Registry | Links Webmaster: For questions or comments
|
|