|
|
|
Step - by - Step How to T-20 Band Adjustment This is another addition to our new how to series, we will ba adding more every week, so check back often. You may also e-mail suggestions for future how - to's to. richard@route6x6.com There are two major versions of the T-20 Transmission: Plesae follow the procedure posted below: We at ROUTE6x6 and RICHARD"S RELICS stock and supply all bearings,
axles, flanges, brakes, sprockets for most machines at discount prices
Click to go to
CHASSIS PARTS PAGE |
|
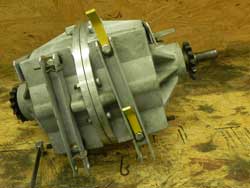
T-20
Band adjustments: Late model T-20's only |
|
These directions were outlined
in the original Borg-Warner Service Manuals |
|
|
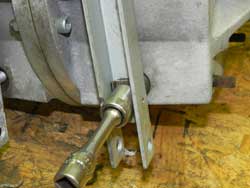
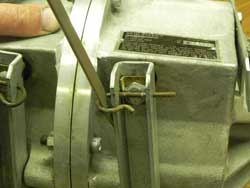
Always disconnect negetive
battey cable before servicing your machine. T-20 Skid Steer shown removed for a clear view, but this job can be done with T-20 installed in machine First remove hair pin clips from top and bottom plugers bolts on the right side first, do nothing at this time to the left side. The hair pins will pop out with a screwdriver Click on PHOTOS to see larger view |
 |
|
|
.Lossen upper and lower bolts about 4 or 5 turns |
|
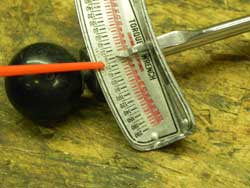
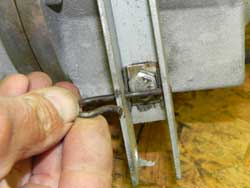
Note
location shown by red pointer, tools used in next step go between underside
of head of bolt and on top of small metal keeper. Click on PHOTOS to see larger view |
|
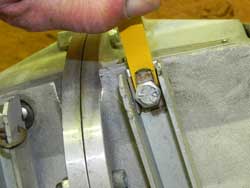
Install distance tools between underside of head of bolt and on top of small metal keeper
Note: T-20 tools are painted yellow in this series so you can see the details of the installation.
Click on PHOTOS to see larger view
|
|
Click on PHOTOS to see larger view |
|
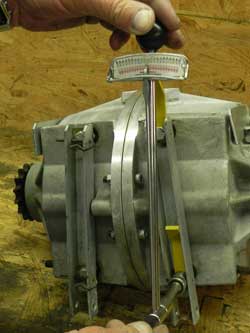
5 inch pounds then to Note: Tighten the top then the bottom then the top then bottom and
so on untill you reach 20 inch pounds,( NOT FOOT POUNDS ) |
|
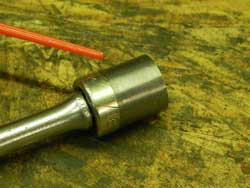
Using an inch pound torque wrinch attached to your thin wall 9/16" socket start tighting the upper and lower bolts first to: 5 inch pounds then to Note: Tighten the top then the bottom then the top then bottom and so on untill you reach 20 inch pounds,( NOT FOOT POUNDS )
Click on PHOTOS to see larger view |
 |
When
bolts are tightened to 20 inch pounds, slide out the tools. Click on PHOTOS to see larger view |
 |
Then you are done......... Click on PHOTOS to see larger view |
| If
you have any questions, you welcome to contact us at richard@route6x6.com Replacement
transmission available at RICHARD'S RELICS
ATV Transmission parts page |
|
| Home | About This Site | New Toys | Information Bank | What's New | Blast From The Past | Museum | Tips | Photo Gallery | How To | FAQ'S | Memory Lane | Classifieds | Discussion Boards | Cartoon | Events | Shoppe | Parts for ATV's | Owner Registry | Links Webmaster: For questions or comments
|
|