 |
|
|
Coot Transmission
COOT,
EAGLE ATV's used this transmission. Below is a step by step guide to assembly of the COOT transmission The Alsport tracker used a version of this COOT Transmission Some of these cases are labled APEX and HESTER TRUCK |
|
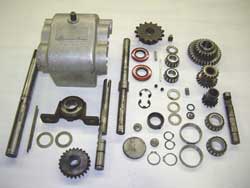 |
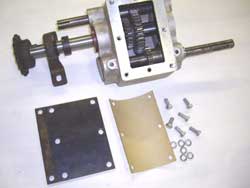
General view of all COOT transmission parts, all cleaned and ready for assembly This PHOTO GUIDE for the COOT Transmission is for assembly, for disassembly start at bottom and work up.
Note: This photo set is formated for easy printing
Click on PHOTOS to see larger view
|
 |
|
 |
|
 |
|
 |
Click on PHOTOS to see larger view
|
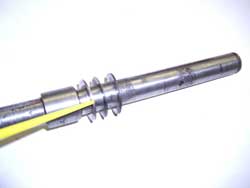 |
Install shims on input shaft, as shown.
Click on PHOTOS to see larger view
|
 |
Click on PHOTOS to see larger view
|
 |
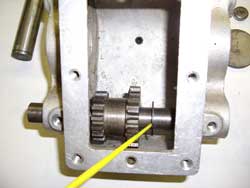
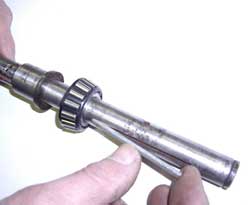
Slide input shaft through case into first gear then through second
gear.
Click on PHOTOS to see larger view
|
 |
Install outer case bearing on input shaft from the outside, then install
shim washers and snap ring, as shown.
Click on PHOTOS to see larger view
|
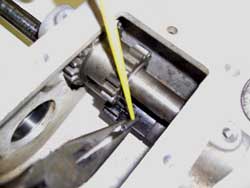 |
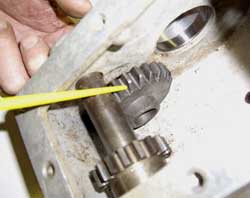
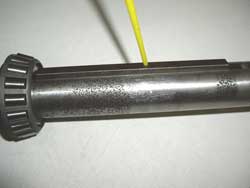
Install roll pin in first gear through gear and shaft. as shown.
Click on PHOTOS to see larger view
|
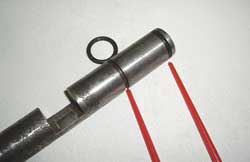 |
Install two O-rings on shift shaft, as shown
Click on PHOTOS to see larger view
|
 |
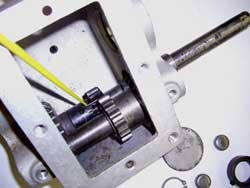
Install shift shaft and shift gear as shown.
Click on PHOTOS to see larger view
|
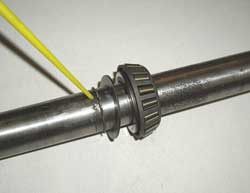 |
Install snap ring, shim and bearing on output shaft as shown.
Click on PHOTOS to see larger view
|
 |
Install key on output shaft. Note: Key also fits under bearing.
Click on PHOTOS to see larger view
|
 |
Slide output shaft into case through shift gear as shown.
Click on PHOTOS to see larger view
|
 |
Install outer bearing, shim (s) and snap ring as shown.
Click on PHOTOS to see larger view
|
 |
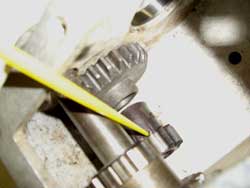
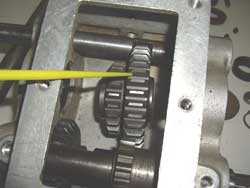
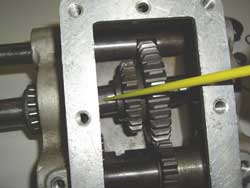
Center cutout on idler shaft over second gear and install two set screws to retain idler shaft, as shown.
Click on PHOTOS to see larger view
|
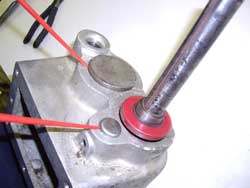 |
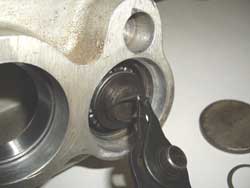
Install casting plugs and seal in case on input side as shown.
Click on PHOTOS to see larger view
|
 |
Repeat previous step on output side of case, as shown.
Click on PHOTOS to see larger view
|
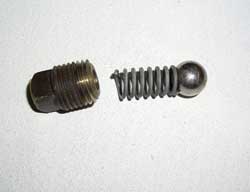 |
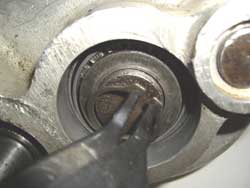
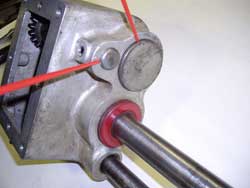
Align detent ball, spring and threaded plug as shown.
Click on PHOTOS to see larger view
|
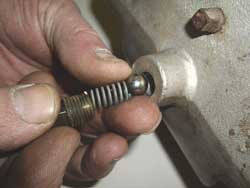 |
Install detent ball, spring and threaded plug as shown.
Click on PHOTOS to see larger view
|
 |
Install outer support bearing, key and drive sprocket. as shown.
Click on PHOTOS to see larger view
|
 |
Note: Fill to level plug with 80w90 gear oil.
Click on PHOTOS to see larger view |
We stock many of these COOT gearbox parts at RICHARD'S RELICS This is another addition to our new how to series, we will ba adding more every week, so check back often. You may also e-mail suggestions for future how - to's to. richard@route6x6.com If you have
any questions, you welcome to contact us at richard@route6x6.com Replacement
Max, Argo, Hustler, Attex, parts available at RICHARD'S
RELICS |
|
| Home | About This Site | New Toys | Information Bank | What's New | Blast From The Past | Museum | Tips | Photo Gallery | How To | FAQ'S | Memory Lane | Classifieds | Discussion Boards | Cartoon | Events | Shoppe | Parts for ATV's | Owner Registry | Links Webmaster: For questions or comments
|
|
